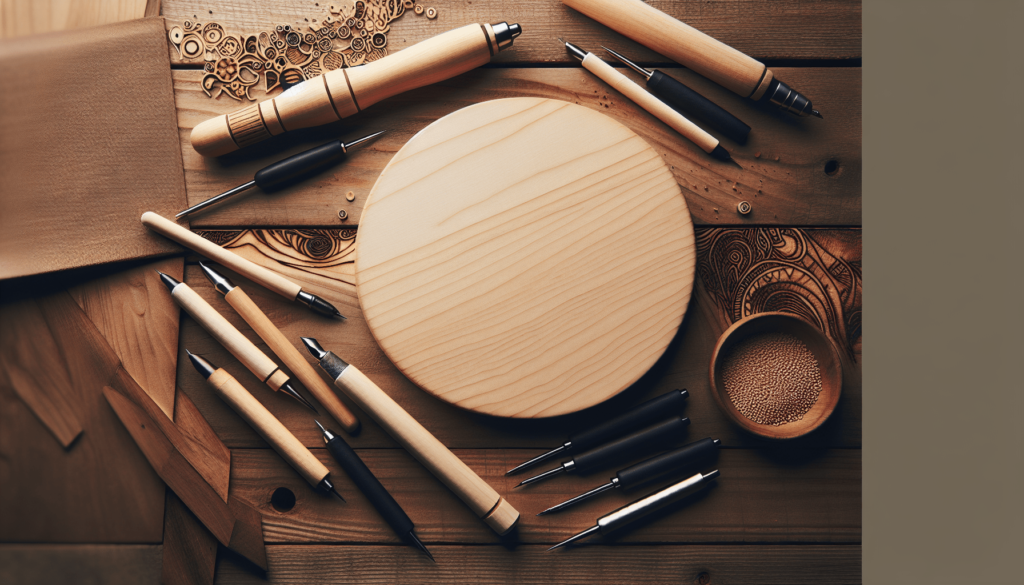
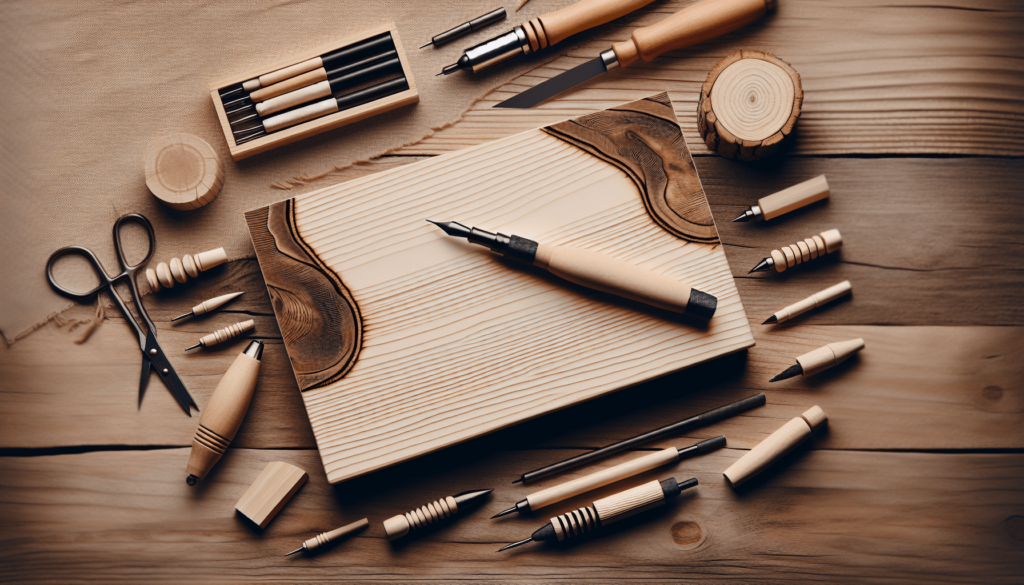
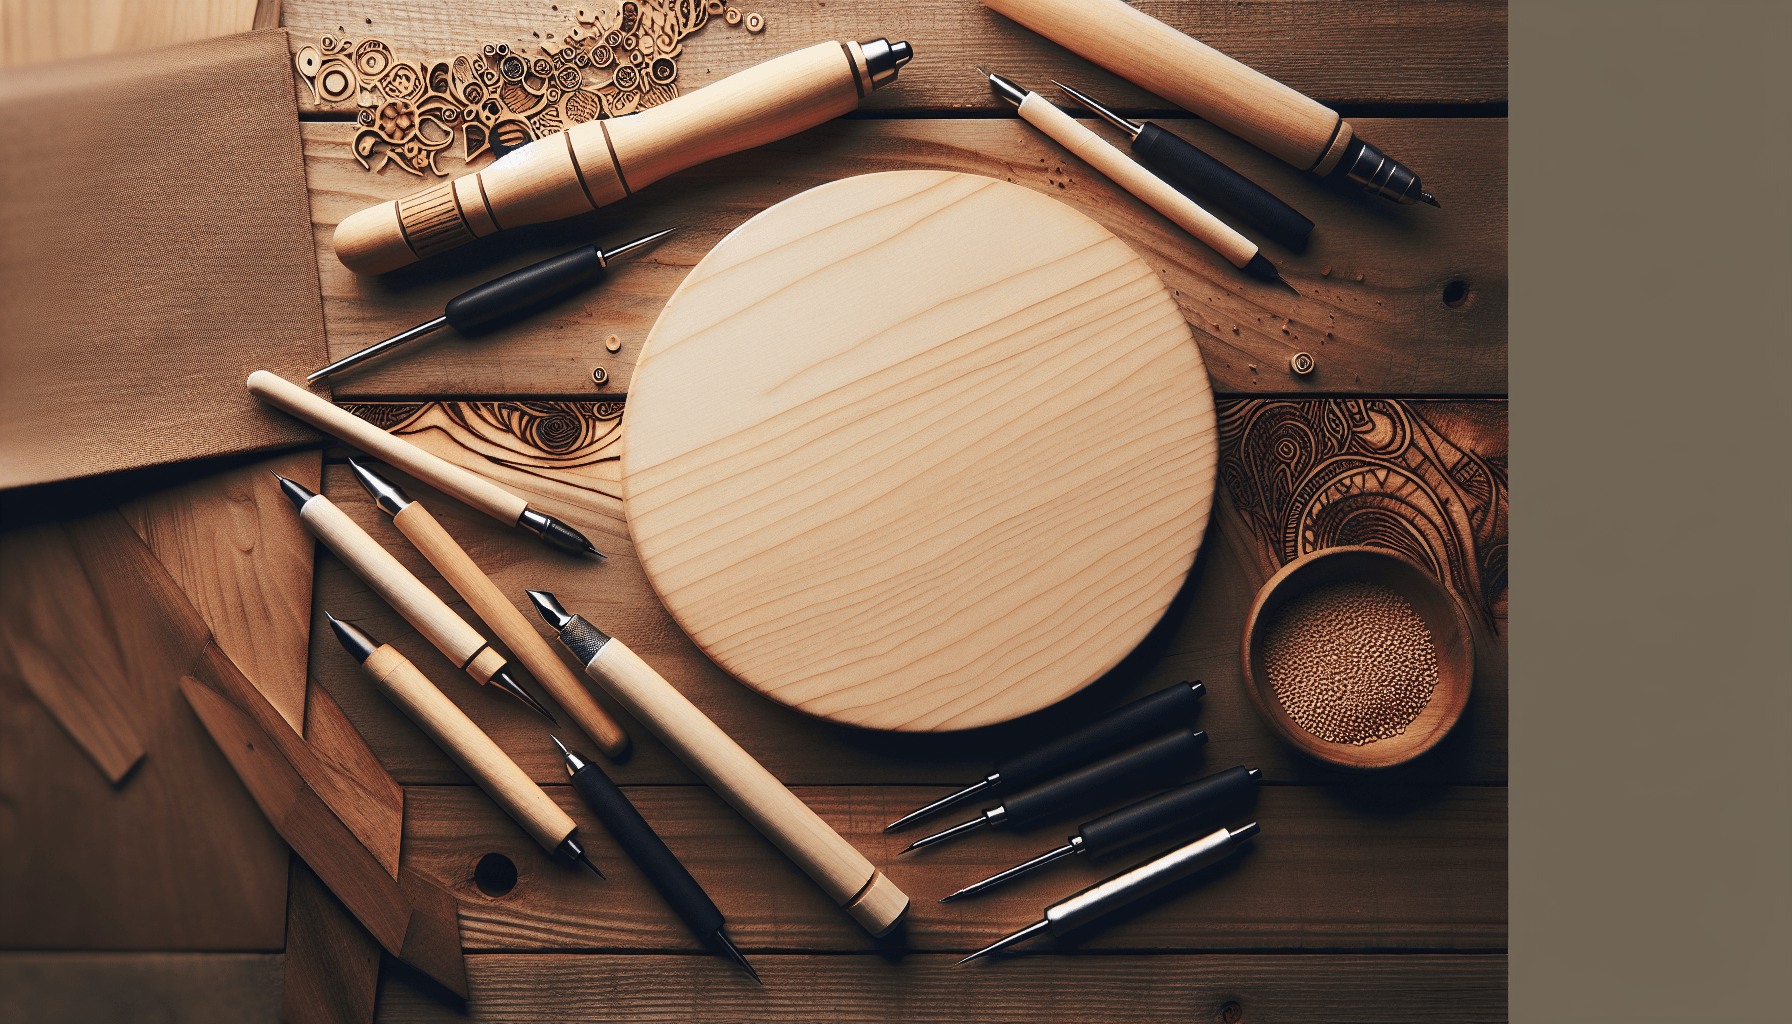
When it comes to pyrography, choosing the right type of wood can make a world of difference. In my journey of exploring this fascinating art form, I’ve discovered that softer woods like basswood, birch, and poplar generally offer a smoother burn and allow for finer detail work. These woods tend to have a consistent grain and lack the resin that can make burning more challenging, ensuring that the final piece looks crisp and professional. Hardwoods like oak or maple, while beautiful in their own right, often present a tougher canvas that demands more skill and patience. Whether you’re just starting out or trying to hone your skills, understanding the characteristics of different woods will help you elevate your craft to new heights. Have you ever wondered what type of wood is best for pyrography? Me too! The truth is, choosing the right wood can make all the difference in your woodburning art. Trust me; I’ve spent countless hours hunched over my woodburning pen, basically becoming one with the smoke and heat. Here’s what I’ve learned through endless trial and error, some mistakes, and a lot of fun.
Why Choosing the Right Wood Matters
You might think wood is wood, but oh, you sweet summer child, it is so much more complicated than that. The type of wood you select can significantly affect the outcome of your pyrography project. Not only does the wood grain play a role, but so do the hardness, texture, and even the wood’s resin content. Imagine spending hours on a piece only for the grain to ruin it. Talk about tragic.
The Basics: Softwoods vs. Hardwoods
Before diving in, let’s clear up the basic distinction between softwoods and hardwoods. Despite what the names suggest, this distinction isn’t about the wood’s hardness; it’s a botanical classification.
Softwoods
These generally come from coniferous trees like pine, cedar, and spruce. They’re lighter and easier to burn but often have a more pronounced grain, which can affect the final design.
Hardwoods
These come from deciduous trees like oak, maple, and walnut. They tend to be denser and heavier, offering a smoother surface for detailed work, though they may require higher temperatures to burn effectively.
Here’s a simple comparison for quick reference:
| Feature | Softwoods | Hardwoods |
|---|---|---|
| Source | Coniferous trees | Deciduous trees |
| Density | Generally less dense | Typically more dense |
| Grain | More pronounced | Finer and smoother |
| Ease of Burn | Easier, burns at lower temp | Harder, requires higher temp |
See? Simple yet so darn complex. Let’s break it down further, shall we?
Popular Woods for Pyrography Projects
Not all woods are created equal, especially when a hot pen is involved. Over the years, I’ve found some woods to be significantly more “pyrography-friendly” than others.
Basswood: The Pyrography All-Star
If wood had a red carpet event, Basswood would be raking in the accolades. It’s like the Meryl Streep of the pyrography world. Known for its soft, even grain and smooth texture, basswood makes burning designs a breeze.
Pros:
- Smooth, fine grain
- Easy to work with
- Minimal resin content
Cons:
- Can be a tad expensive
- Not as durable for functional items
Birch: The Quiet Achiever
Birch is another favorite, often recommended for beginners. It’s light in color, allowing your burns to stand out more prominently. The grain is subtle, which grants you more control over your art.
Pros:
- Light color for contrast
- Consistent grain
- Affordable and easy to find
Cons:
- Slightly harder than basswood
- Can have knots that disrupt detailed work
Maple: The Workhorse
Maple is the unsung hero of many wooden projects. It’s a bit harder than basswood and birch but still manageable. Plus, it’s versatile enough for both beginners and experienced pyrographers.
Pros:
- Strong and durable
- Fine, even grain
- Moderate cost
Cons:
- Requires higher temperatures
- Slightly harder to burn
Poplar: The Balanced Choice
Poplar sits comfortably between softwoods and hardwoods, both in terms of hardness and grain. It’s a great option when you want something slightly more challenging but not too intimidating.
Pros:
- Light grain and color
- Affordable
- Good surface for burning
Cons:
- Can have greenish streaks
- Requires more heat than basswood or birch
Oak: The Rugged Contender
Oak is like that tough grandparent who always tells it like it is. With a rougher grain and higher density, it’s not for the faint-hearted. But oh, the results can be amazing if you master it.
Pros:
- Very durable
- Unique, prominent grain
- Suitable for hardy, rustic projects
Cons:
- High density, harder to burn
- Grain can be a hassle for fine details
Pine: The Soft Marvel
Pine can be both delightful and frustrating. Its softness makes it easy to burn designs, but its resin content and pronounced grain can mess things up if you’re not careful. It’s kind of like that ex you can’t help but keep going back to.
Pros:
- Soft and easy to burn
- Widely available
- Inexpensive
Cons:
- High resin content
- Grain can be unpredictable

How to Prepare Your Wood for Pyrography
So, you’ve picked your wood. Now what? Preparation is key, my friend. A poorly prepped piece of wood is an invitation for disaster—or at least frustration.
Sanding: The Smoother, The Better
Sanding is like yoga for your wood; it relaxes the grain and prepares the surface for burning. Use fine-grit sandpaper (220 grit works wonders) and sand in the direction of the grain. Think of yourself as a wood whisperer, coaxing that perfect texture out.
Cleaning: A Necessary Evil
Nobody likes cleaning, but here it’s essential. Dust and tiny particles can mess up your burns. A quick wipe with a damp cloth should do the trick. Just make sure to let it dry completely—patience is a virtue, or so they say.
Masking and Transferring Your Design
Use graphite paper to transfer your design onto the wood. It’s pretty straightforward but requires a steady hand and a bit of practice. You can also mask off areas you don’t want to burn using painter’s tape.
Tools of the Trade
The pen might be mightier than the sword, but when it comes to pyrography, the type of woodburning pen you use can make or break your project. Sure, it’s woodburning, but it feels like you’re wielding a magic wand sometimes, doesn’t it?
Solid-point Burners
These woodburning pens are straightforward and great for beginners. They usually come with interchangeable tips, offering a range of possibilities.
Pros:
- Easy to use
- Budget-friendly
- Multiple tips available
Cons:
- Fixed temperature
- Less precise compared to advanced tools
Wire-nib Burners
Wire-nib burners are a step up, offering more control and precision. They usually have adjustable temperatures, making them a favorite among more experienced artists.
Pros:
- Adjustable temperature
- Fine, detailed work
- Lightweight and easy to maneuver
Cons:
- More expensive
- Steeper learning curve
Choosing the Right Tip
Various tips can help you achieve different effects. There are shading tips, fine-line tips, calligraphy tips, and more. Choosing the right tip for your project can elevate it from “meh” to “wow.”
| Tip Type | Best For |
|---|---|
| Fine-line | Detailed lines and intricate designs |
| Shading | Smooth transitions and blended areas |
| Calligraphy | Elegant text and flowing lines |
| Universal | General-purpose burning, good for beginners |

Techniques and Tips for Mastering Pyrography
Like any art form, pyrography has its own set of techniques and tips that can make your work shine—or literally go up in smoke if you’re not careful.
Temperature Control: The Fine Balance
The trick is to find the Goldilocks zone—not too hot, not too cold. Too hot, and you risk burning your wood to a crisp; too cold, and you end up scratching the surface more than burning it. If you’re using a wire-nib burner, adjust the temperature settings according to the type of wood you’re working with.
The Art of Controlled Burning
Holding the pen at different angles, applying varied pressure, and moving at different speeds can greatly influence your work. Practice makes perfect, so grab some scrap wood and experiment with these variables.
Layering: Creating Depth
One of the most rewarding techniques in pyrography is layering. By building up layers of burns, you can create depth and texture in your pieces. Start light and build up intensity gradually. It’s sort of like painting, but instead of brushes and colors, you’re using heat and char.
Practice on Scraps
Before you commit to a final piece, practice on wood scraps. This helps you familiarize yourself with the wood’s grain and how it interacts with heat. Think of it as preliminary sketches for your masterpiece.
Safety First: Avoiding the Meltdown
Woodburning pens get hot—like, really hot. Make sure to have a heat-resistant place to set your pen down. And please, don’t burn your fingers. Keep a bowl of cool water nearby just in case. Safety goggles and proper ventilation are also a good idea. Safety might not be sexy, but it sure is smart.
Dealing With Mistakes
Listen, we all mess up. It’s a part of the creative process. Sometimes the wood doesn’t cooperate, or your hand slips. Here’s how to handle those little hiccups:
Sanding Away Errors
Minor mistakes can often be sanded down and smoothed out. Just be gentle and try to sand only the affected area.
Incorporating Mistakes Into Your Design
Sometimes a mistake can be turned into a happy accident. Adjust your design to incorporate the error. Who knows? It might make your piece even more unique.
Starting Over
Sometimes it’s best to just start fresh. Yes, it’s frustrating, but better to start over than to continually patch up a piece you’re not happy with.
Finishing Your Pyrography Work
After investing so much time and effort, you’ll want to ensure your piece stays beautiful for years to come. The finishing touches are crucial.
Sealing the Deal
A good finish can protect your work from moisture, dirt, and wear and tear. Polyurethane, shellac, or a simple clear spray lacquer can do the job. Choose a finish that matches the intended use of your piece—glossy for decorative items, or matte for a more rustic look.
Buffing and Polishing
A gentle buff with fine steel wool can remove any rough edges or splinters. Polishing can add that extra sheen to make your work pop.
Conclusion: Becoming a Pyrography Maestro
Choosing the right wood can set the stage for your pyrography masterpiece. From basswood to oak, each type has its own quirks, advantages, and limitations. Remember, the key to great pyrography lies not just in your penmanship (pun intended) but in how well you understand and work with your chosen wood.
Whether you’re a beginner or an experienced artist, experimenting with different woods can open up new realms of creativity. And if all else fails, there’s always scrap wood to practice on—because let’s face it, we’re all just trying to set the world on fire, one piece of wood at a time.
So go ahead, pick up that woodburning pen, and make some smoke!

