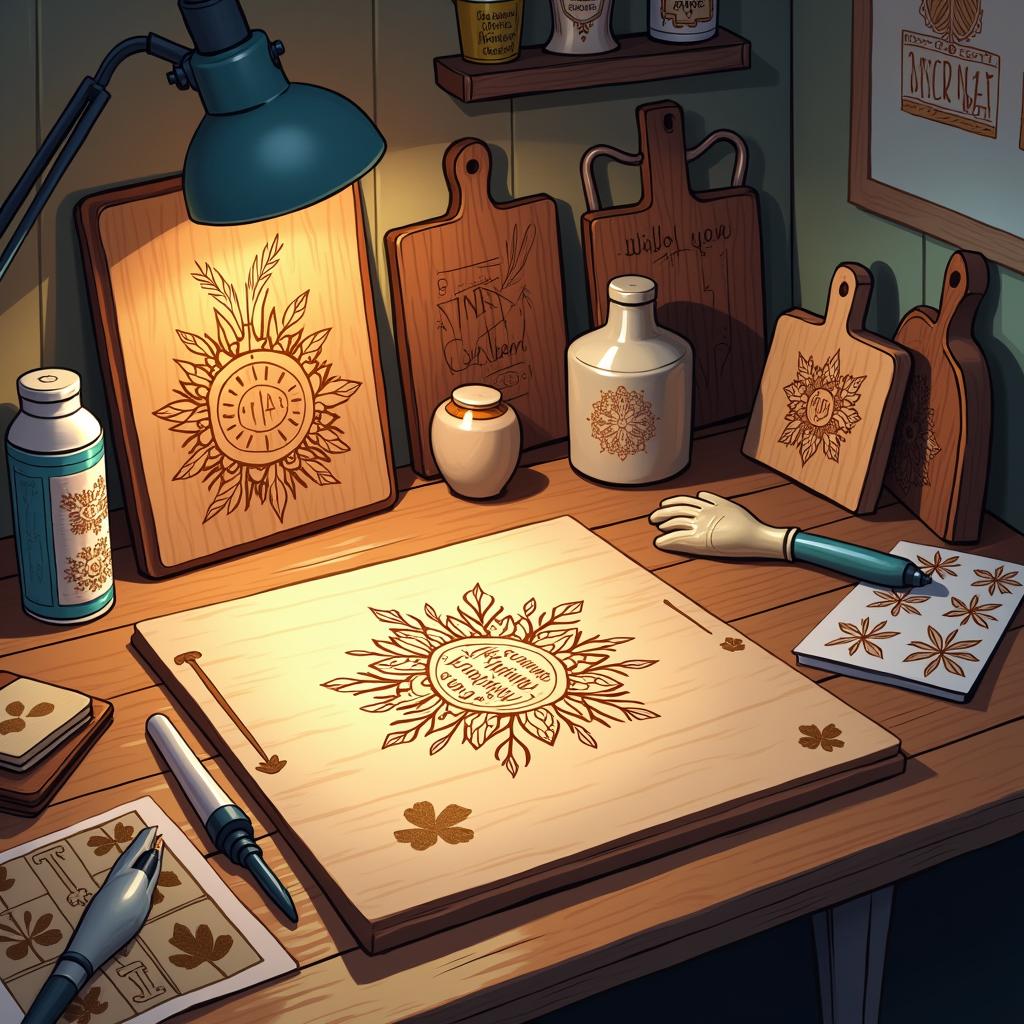
I create professional wood burning art faster and more efficiently using stencils—cutting my design time from 30 minutes to just 5 minutes per piece. These essential tools help me transfer detailed patterns with precision, letting me focus on the artistry of burning rather than sketching.
Key Takeaways
- Stencils dramatically improve efficiency by cutting design time by up to 83%.
- Perfect symmetry and consistency are guaranteed across multiple pieces.
- Complex designs become achievable regardless of artistic drawing ability.
- Material waste is significantly reduced by preventing design mistakes.
- Stencils allow artists to focus on developing burning techniques rather than sketching.
I achieve crisp, professional results on each project using high-quality stencils. The templates ensure my patterns stay consistent whether I’m creating one piece or a hundred. Even without advanced drawing abilities, I can now tackle detailed designs that once seemed out of reach.
My stencils act as reliable guides, reducing material waste by preventing sketch errors. This lets me concentrate on mastering wood burning techniques instead of worrying about drawing accuracy. The result is better-finished pieces completed in less time.
How to Create Professional Wood Burning Art in Half the Time
Speed Up Your Design Process
I’ve found that using stencils for wood burning projects can dramatically cut down design time from 30 minutes to just 5 minutes per piece. This time-saving advantage lets me focus on perfecting my burning techniques instead of spending precious hours sketching and erasing. Stencils have become my go-to solution for creating clean, professional-looking designs quickly and efficiently.
Consistency and Quality in Production
Creating multiple pieces with identical patterns becomes a breeze with stencils. For custom orders or craft fair inventory, I can transfer designs onto wood with remarkable consistency. This reliability is especially valuable when crafting matching sets like coasters or decorative wall pieces. By eliminating the variables of freehand drawing, I can maintain professional quality across every piece I create.
Here’s what makes stencils a game-changer in pyrography:
- Perfect symmetry without the frustration of repeated measurements
- Quick setup for bulk production of identical items
- Reduced material waste from drawing mistakes
- Consistent results even with intricate wood burning patterns
- Easy scaling of designs for different-sized projects
The precision of stencils has transformed my workflow, letting me take on more complex projects with confidence. Rather than spending time perfecting initial sketches, I can concentrate on developing my burning techniques and exploring different shading methods. This shift in focus has helped me grow as an artist while maintaining high production standards.
Transform Complex Designs into Simple Wood Burning Projects
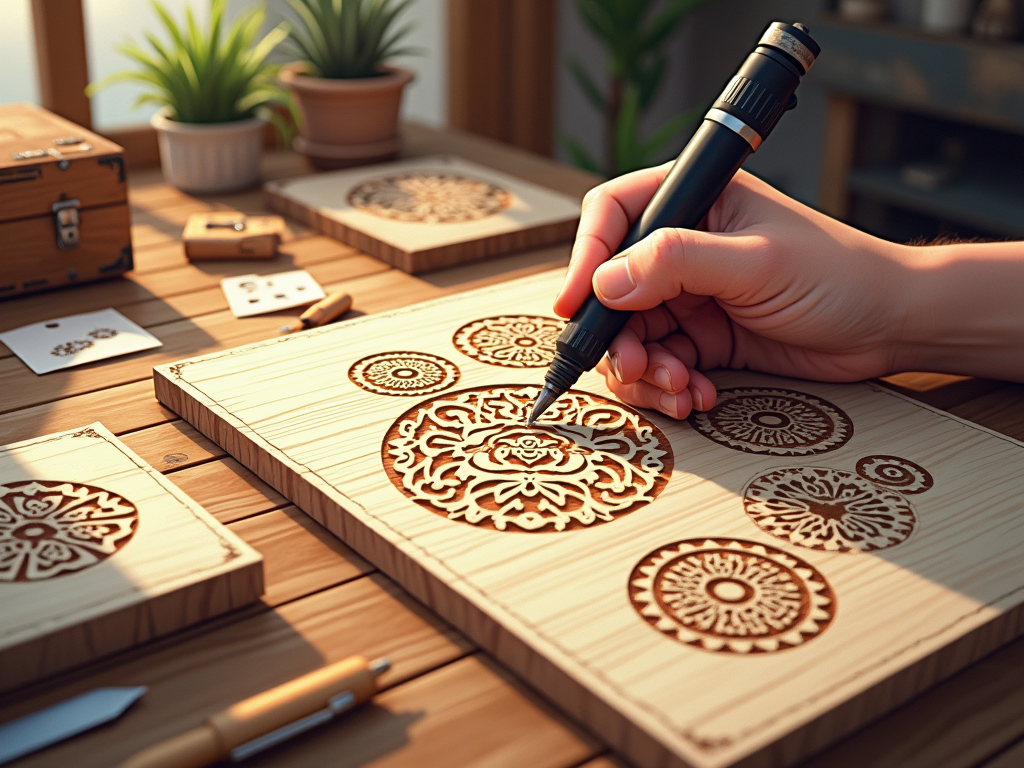
I’ve found that stencils can be a game-changing tool for making intricate wood burning designs much easier to handle. Using stencils in pyrography projects lets me create professional-looking results without years of freehand practice.
Types and Applications of Pyrography Stencils
Stencils make quick work of detailed elements that would be challenging to create by hand. I rely on them particularly for precise geometric patterns, delicate filigree work, and tiny text that needs perfect clarity. The best part? They help maintain consistent line widths and perfect symmetry across the entire design.
For beginners looking to start with wood burning patterns, I recommend starting with basic stencils. Here are the main types I use in my projects:
- Mylar stencils – Perfect for repeated use and fine details
- Metal stencils – Great for durability and heat resistance
- Adhesive stencils – Ideal for curved surfaces and one-time use
- Paper stencils – Good for simple designs and practice
Speaking of accuracy, I’ve noticed a significant difference when burning circles and curves. While freehand circles often end up slightly uneven, stenciled ones maintain perfect roundness every time. This precision becomes especially important when transferring images onto wood for detailed work.
The real magic happens when combining different stencil types in a single project. I might use a metal stencil for the main pattern and add personalized details with adhesive stencils. This mix-and-match approach opens up countless possibilities for creative wood burning patterns.
One of my favorite techniques involves using stencils as guides for shading and texture work. By selecting the right pyrography tip, I can create depth and dimension while maintaining the clean lines of the stenciled design. This technique works particularly well with nature-inspired patterns and mandala designs.
For the best results, I recommend transferring your design carefully and securing the stencil firmly before starting. This simple step prevents shifting during the burning process and ensures clean, crisp lines in the final piece.
Create Professional Results Without Drawing Skills
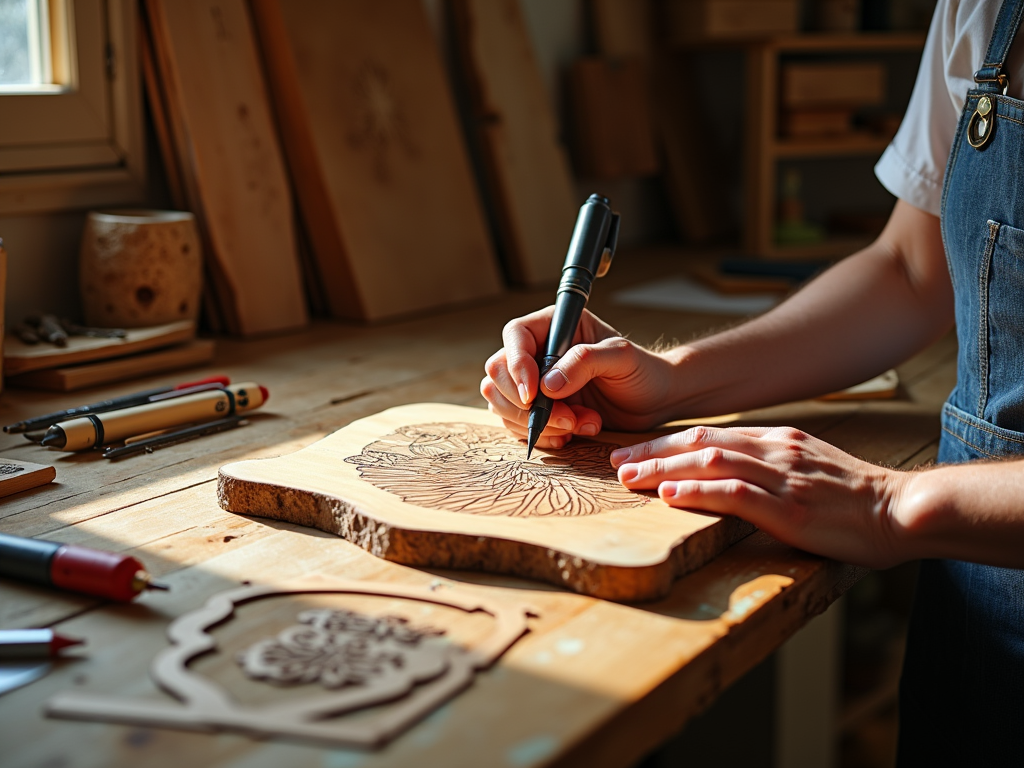
Natural artistic talent isn’t necessary to create stunning wood burning art – stencils make professional-looking results possible for anyone. I’ve found that using stencils for pyrography projects helps transform creative ideas into beautiful finished pieces, regardless of drawing ability.
Key Advantages of Stencil-Based Pyrography
Stencils serve as training wheels while you develop pyrography skills and confidence. By transferring designs accurately onto wood, they eliminate the frustration of freehand drawing and let you focus on mastering wood burning techniques instead.
Here’s how stencils can elevate your pyrography work:
- They provide clear outlines and guidelines for consistent burning
- You can practice shading and texture techniques within defined borders
- Stencil patterns are reusable for multiple projects
- Complex designs become approachable through stencil breakdown
- Mistakes are reduced with pre-planned layouts
I recommend starting with basic wood burning patterns for beginners before moving to more detailed stencils. This progression builds muscle memory and control while maintaining quality results. Even experienced pyrographers use stencils for intricate or repetitive elements to ensure precision.
The real magic happens when you pair stencils with different wood burning tips and effects. By experimenting with various tips inside stenciled outlines, you’ll discover unique textures and styles that make each piece distinctive. I’ve found that combining multiple stencils can create original compositions while maintaining professional-grade accuracy.
For best results, I suggest practicing image transfer techniques with simple stencils before tackling complex designs. This builds confidence and helps develop steady hand control – crucial skills that transfer to any pyrography project.
Explore Endless Design Possibilities
Pre-Made and Custom Stencil Options
Starting your pyrography journey with stencils opens up an incredible range of creative possibilities. Pre-made stencils offer quick access to professional-looking designs, from intricate floral patterns to striking geometric shapes. I’ve found that using stencils for wood burning projects can significantly speed up the design process while maintaining consistency across multiple pieces.
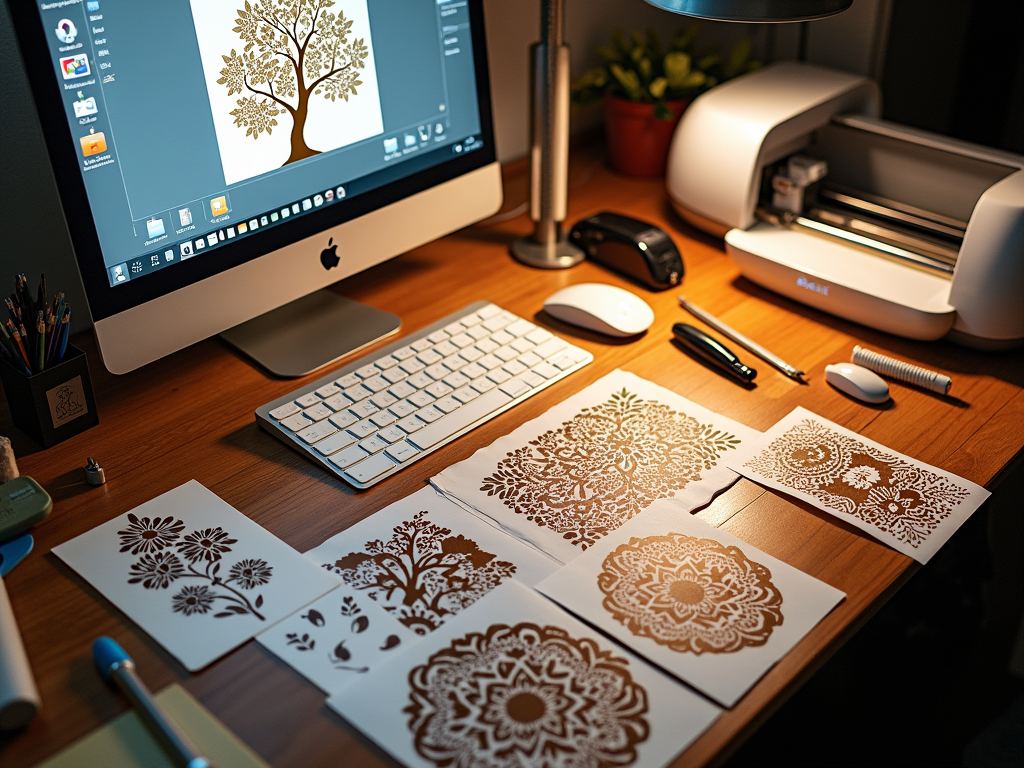
Creating custom stencils puts you in complete control of your artistic vision. With equipment like the Cricut Maker, Cricut Explore Air, or Silhouette Cameo, you can turn any design into a workable stencil. I recommend using materials such as Mylar sheets, acetate sheets, or stencil film for the best results. These materials are durable enough for repeated use and won’t melt under the heat of your pyrography pen.
Advanced Design Techniques
Digital design software has made creating wood burning patterns more accessible than ever. Here are the essential tools that can help you craft unique designs:
- Cricut Design Space – Perfect for beginners with its user-friendly interface
- Silhouette Studio – Offers advanced features for detailed pattern creation
- Adobe Illustrator – Professional-grade software for complex custom designs
- Inkscape – A free alternative that provides powerful design capabilities
The magic happens when you start layering multiple stencils to create depth and complexity in your work. I’ve discovered that transferring images onto wood becomes much more interesting when combining different stencil layers. This technique allows you to build intricate scenes or add subtle background elements to your main design.
Stippling techniques through stencils add another dimension to your pyrography. By varying the density and pattern of dots, you can create stunning shading effects and textures that bring your designs to life. I’ve found that selecting the right pyrography tip is crucial for achieving these effects – shader tips work particularly well for broad areas, while fine-point tips excel at detailed stippling work.
The beauty of stencils lies in their versatility. You can try new wood burning patterns with confidence, knowing that your base design is secure. Whether you’re creating holiday decorations, personalized gifts, or professional pieces, stencils provide a solid foundation for your pyrography projects while leaving room for your artistic interpretation and growth.
Protect Your Investment and the Environment
Making mistakes in pyrography can be costly, both financially and environmentally. I’ve found that incorporating stencils into my wood burning workflow acts as a safeguard against permanent errors that would otherwise require extensive sanding or complete piece replacement.
Smart Protection Strategies
Using stencils provides a reliable way to transfer your designs accurately onto wood surfaces, dramatically reducing the chances of costly mistakes. This method saves both time and materials by getting the design right the first time. Instead of scrapping an entire piece due to wobbly lines or misplaced elements, stencils help maintain precision throughout the creative process.
The environmental impact of woodworking mistakes shouldn’t be overlooked. Here are key ways stencils help protect both your investment and the environment:
- They prevent wood waste by reducing the need for do-overs
- They help maintain consistent proportions across repeated designs
- They minimize material waste from incorrect measurements
- They reduce the need for excessive sanding, which can damage wood fibers
- They allow for precise pattern placement without trial and error
By implementing stencils in my projects, I’ve cut down significantly on material waste. This approach has proven particularly valuable when working with expensive or rare wood species, where mistakes can be especially costly. The precision offered by stencils also means less time spent fixing errors and more time creating beautiful pieces.
The use of stencils supports sustainable crafting practices by ensuring each piece of wood is used to its full potential. Rather than discarding materials due to mistakes, I can focus on perfecting my burning techniques and artistic expression. This resource-conscious approach benefits both my wallet and the planet, making stencils an essential tool in modern pyrography practice.
Sources:
Walnut Hollow, “Creative Woodburner Instruction Booklet”
Pyrography 101, “The Ultimate Guide to Woodburning”
Lora S. Irish, “Great Book of Woodburning”
Sue Walters, “Pyrography Workbook: A Complete Guide to the Art of Woodburning”