Have you ever come across a beautiful piece of art and wondered how it was created? More specifically, have you seen intricate designs and beautiful patterns etched onto a piece of wood and found yourself mystified by the technique used? If so, you’re not alone. The art of woodburning has fascinated people for centuries. So, what’s the term for woodburning?

Pyrography: The Art of Woodburning
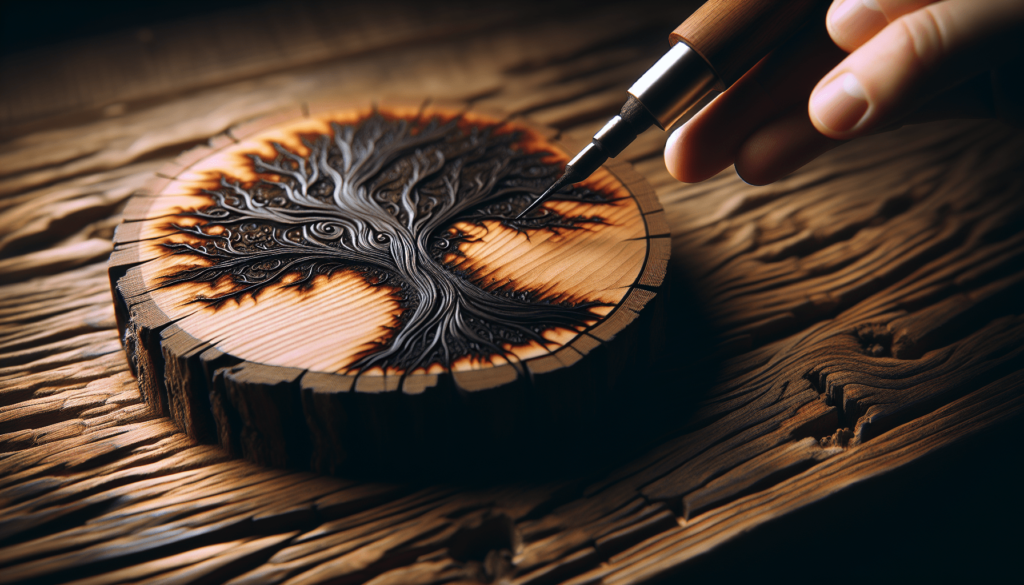
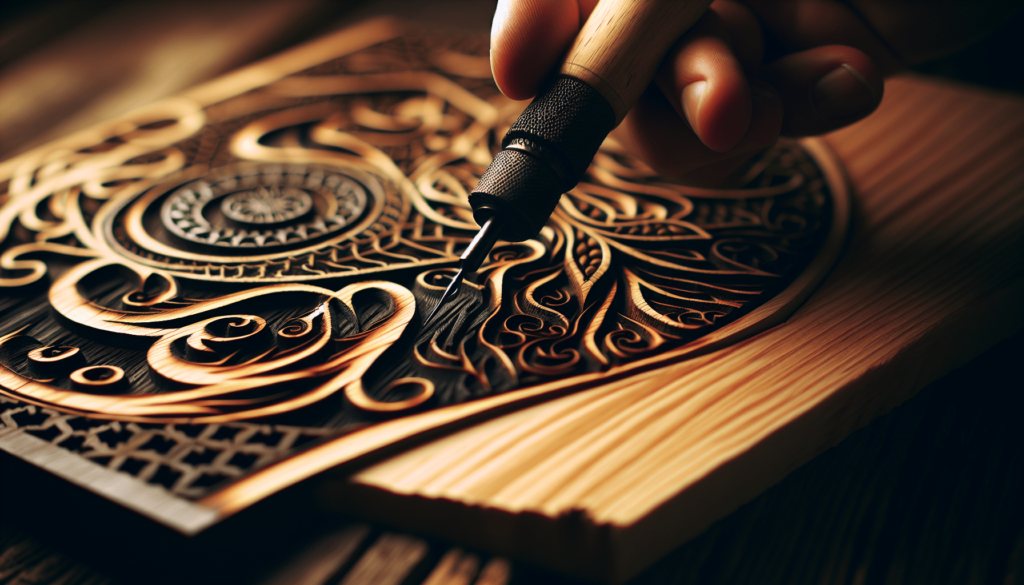
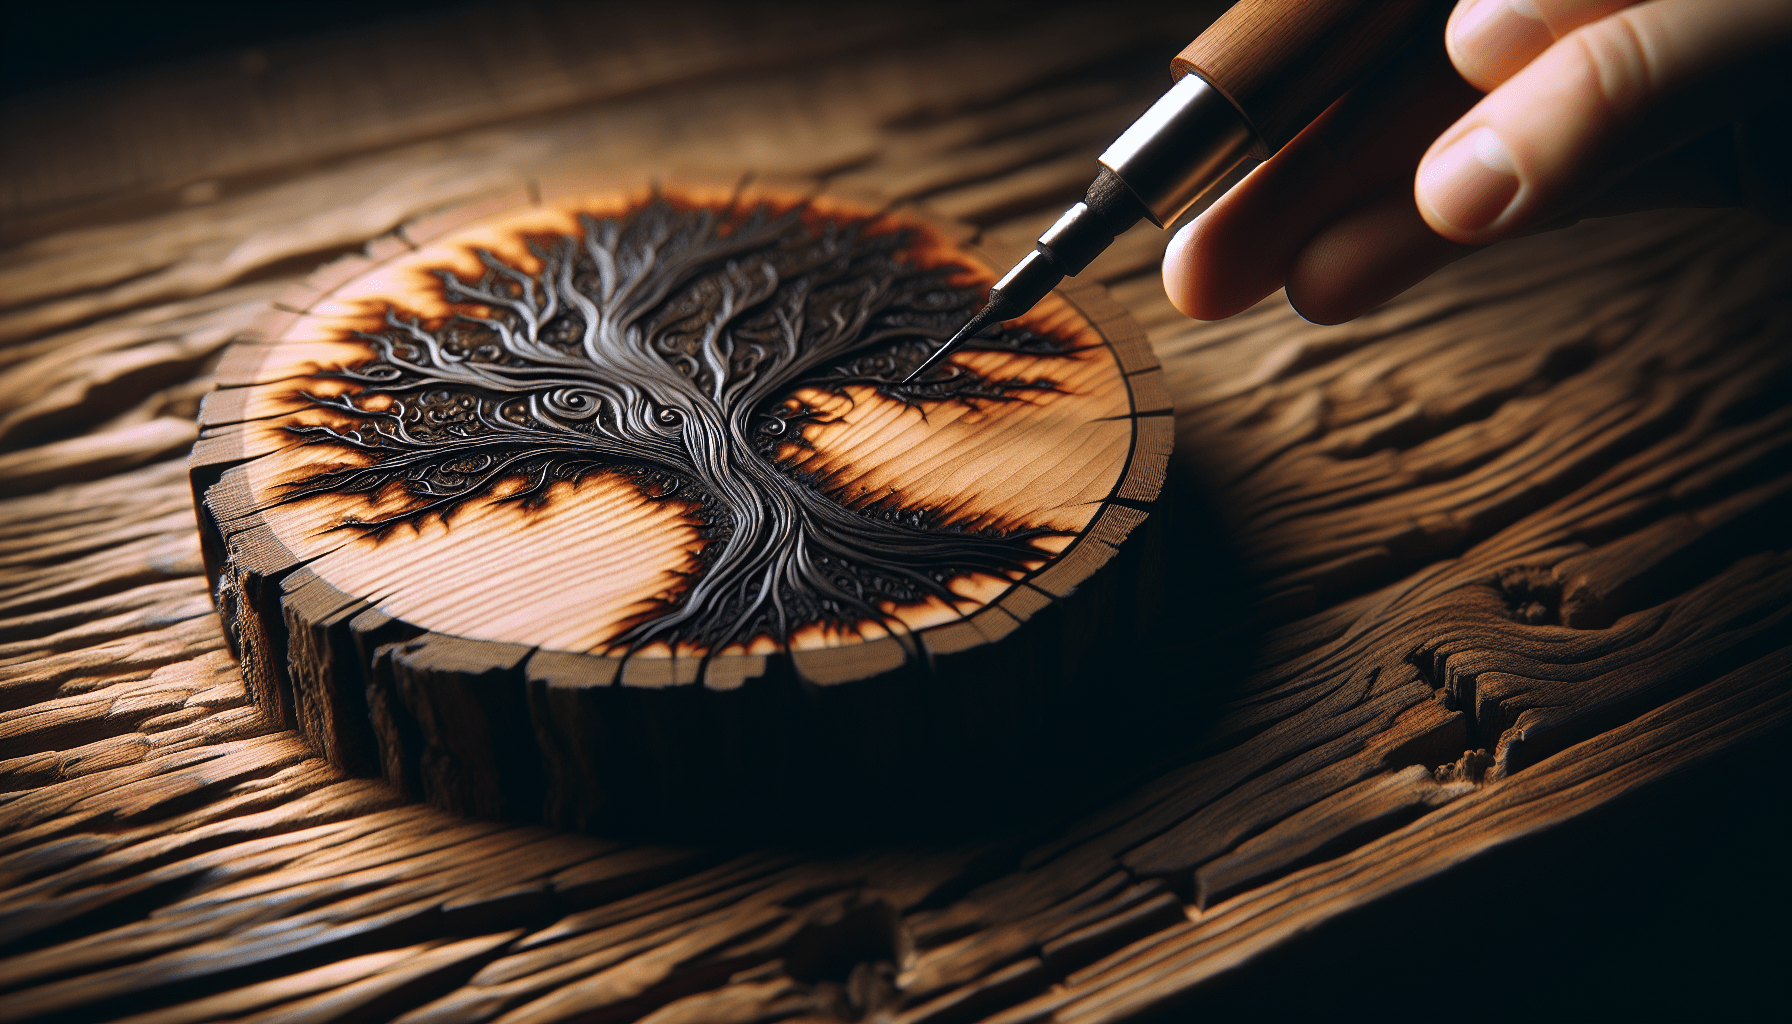
The term you’re looking for is “pyrography.” Deriving from the Greek words “pur” meaning fire, and “graphos” meaning writing, pyrography literally means “writing with fire.” And that’s pretty much what it is. Pyrography involves using a heated tool to burn designs into wood, leather, or other materials. But there’s so much more to it than just burning; it’s an art, a craft, and in some ways, a form of meditation.
A Stroll Through History
Pyrography isn’t a newfangled hobby. Indeed, the roots of this craft stretch back thousands of years. Ancient cultures, from the Egyptians to the Chinese, employed some form of pyrography. Early artisans likely used metal pokers heated in a fire to create their designs. I can’t imagine how tedious that must have been!
Fast forward to the Victorian era, and we see pyrography becoming a hobby for the well-to-do, thanks to newly invented pyrography machines. These early machines were bulky and often ran on either gas or kerosene. Not exactly the safest setup, but it was groundbreaking for its time.
Modern Pyrography
Today’s pyrography tools are far more advanced and user-friendly. We have electric pyrography pens with adjustable heat settings, ergonomic designs, and a plethora of interchangeable tips for different effects. These modern amenities make it easier than ever to create detailed, breathtaking designs.
The Tools of the Trade
Now, let’s talk about what you need to get started in pyrography. The tools have come a long way from the metal pokers of yesteryear. Here’s a quick rundown of the essentials:
| Item | Description |
|---|---|
| Pyrography Pen | The primary tool, often with adjustable heat settings and interchangeable tips. |
| Different Tips | Various tips for shading, lines, and textures—each providing a unique effect. |
| Sandpaper | Used to smooth the wood’s surface before you start burning your design. |
| Graphite Paper | Helps transfer your designs onto the wood. |
| Wood Burning Templates | If you’re not confident in your freehand skills, templates can be a lifesaver. |
The Types of Wood
Choosing the right type of wood is critical for successful pyrography. Not all woods are created equal; some types are easier to work with, while others present challenges.
Softwoods vs. Hardwoods
- Softwoods: Pine, fir, and cedar are some examples. They are generally easier to burn but may have more sap, which can become sticky and affect your design.
- Hardwoods: Oak, cherry, and maple. These provide a smoother finish but require a hotter tool and more patience.
Trust me, taking the time to select the right type of wood can make all the difference in your projects.
How to Get Started
Starting in pyrography doesn’t have to be overwhelming. There are simple steps you can follow to ensure a smooth initiation.
Step 1: Prepping Your Wood
Before you even think about plugging in your pyrography pen, preparation is key. Sand your wood surface until it’s smooth. Trust me, you don’t want those pesky wood grains ruining your masterpiece.
Step 2: Transferring Your Design
Some folks like to jump right in with freehand designs, but if you’re anything like me, a bit of planning goes a long way. You can use graphite paper to transfer a design onto the wood. It’s straightforward: place the graphite paper between your design and the wood, then trace over it with a pencil.
Step 3: Get Burning!
Now comes the fun part. Plug in that pyrography pen and allow it to heat up. Start with light, gentle strokes. You can always go over a line to make it darker, but it’s tough to undo a heavy burn.
Techniques and Tips
Mastering pyrography is a gradual process. Here are some techniques that can help you out along the way:
Line Work
Line work forms the basis of most pyrography designs. Whether you are outlining a complex design or creating beautiful cursive, understanding how to vary the pressure and speed of your stroke is crucial.
Shading
Shading adds depth to your art. Use a shading tip for this purpose and make sure to practice on a scrap piece of wood first. Light strokes combined with gradual darkening can make your piece stand out.
Stippling
Stippling involves creating designs using dots. This technique can be surprisingly effective for creating texture and contrast. It’s a bit time-consuming but well worth the effort.

Safety Precautions
With all this talk about burning wood, it would be remiss not to touch on safety.
Ventilation
Always work in a well-ventilated area. Burning wood releases smoke and possibly harmful chemicals that you don’t want to breathe in.
Protective Gear
A mask and safety goggles help protect your lungs and eyes from potential hazards. You might feel a bit like a sci-fi character, but better safe than sorry!
Fire Safety
Keep a fire extinguisher or at least a bucket of water handy. Sure, it sounds overly dramatic, but accidents happen.
Advanced Techniques
Once you’ve got the basics down, there are several advanced techniques to explore.
Color Accents
While traditional pyrography sticks to shades of brown, you can add a pop of color to your work using colored pencils or watercolors. Just ensure the wood is sealed properly afterward to preserve your art.
Textured Burn
Using different tips and applying varied pressure can help you create texture. This adds a tactile element to your work, making it more interesting.
Practical Applications
Pyrography isn’t just limited to wall art. You can use this technique in various ways to create functional yet beautiful items.
Home Décor
From personalized coasters to intricately designed wooden boxes, the possibilities for home décor are endless. Your pieces can be both functional and conversation starters.
Gifts
Homemade gifts always carry a special sentiment, and a pyrography piece is no exception. Customized ornaments, keychains, or even nameplates can make for unforgettable gifts.
Small Business Opportunities
If you find that you’ve got a knack for pyrography, why not capitalize on it? Many artists sell their pyrography works on platforms like Etsy. It may even turn into a profitable side hustle.
Common Pitfalls
No journey is without bumps in the road, and pyrography is no exception.
Inconsistent Lines
When you’re new, controlling the pen can be tough. Practice makes perfect, so keep at it.
Overburning
It’s easy to get enthusiastic and hold the pen down too long, resulting in scorch marks. Always start with lighter burns.
Uneven Surfaces
Always ensure your wood is smooth before starting. Any imperfections can throw off your design.
Joining a Community
Doing something new is always easier when you have people to share the experience with. Local craft groups or online forums can be great places to share tips and show off your work. Plus, you’ll find you’re not alone in your love for pyrography.
Resources
Books
- “Learn to Burn: A Step-by-Step Guide to Getting Started in Pyrography” by Simon Easton
- “Pyrography Basics: Techniques and Exercises for Beginners” by Lora S. Irish
Online Communities
Websites and forums dedicated to pyrography can be invaluable. Places like Reddit’s r/pyrography and Pyrography Online offer tips, project ideas, and plenty of moral support.
Workshops
If you’re more of a hands-on learner, look for workshops or classes in your area. Many craft stores offer beginner classes that can be incredibly helpful.
The Rewards of Pyrography
Engaging in pyrography is immensely satisfying. It allows you to bring to life designs you’ve only imagined, and the end result is a tangible piece of art. Plus, there’s something endlessly gratifying about working with your hands and seeing a project through from start to finish.
So, if you’ve ever been mesmerized by the intricate designs on a wooden piece and wondered how they were created, now you know: it’s all about pyrography. Take it from me, there’s no better time to start this rewarding journey. Give it a try, and you might just find your new favorite hobby.

