What do I need to begin wood burning? That’s a great question and one that I’ve asked myself on many a rainy Sunday afternoon, looking for a meaningful hobby to pass the time. If you’re intrigued by the prospects of transforming ordinary hunks of wood into artistic masterpieces with nothing but heat and a dash of creativity, wood burning (or pyrography, if you want to sound fancy) might just be your new best friend.

What Is Wood Burning?
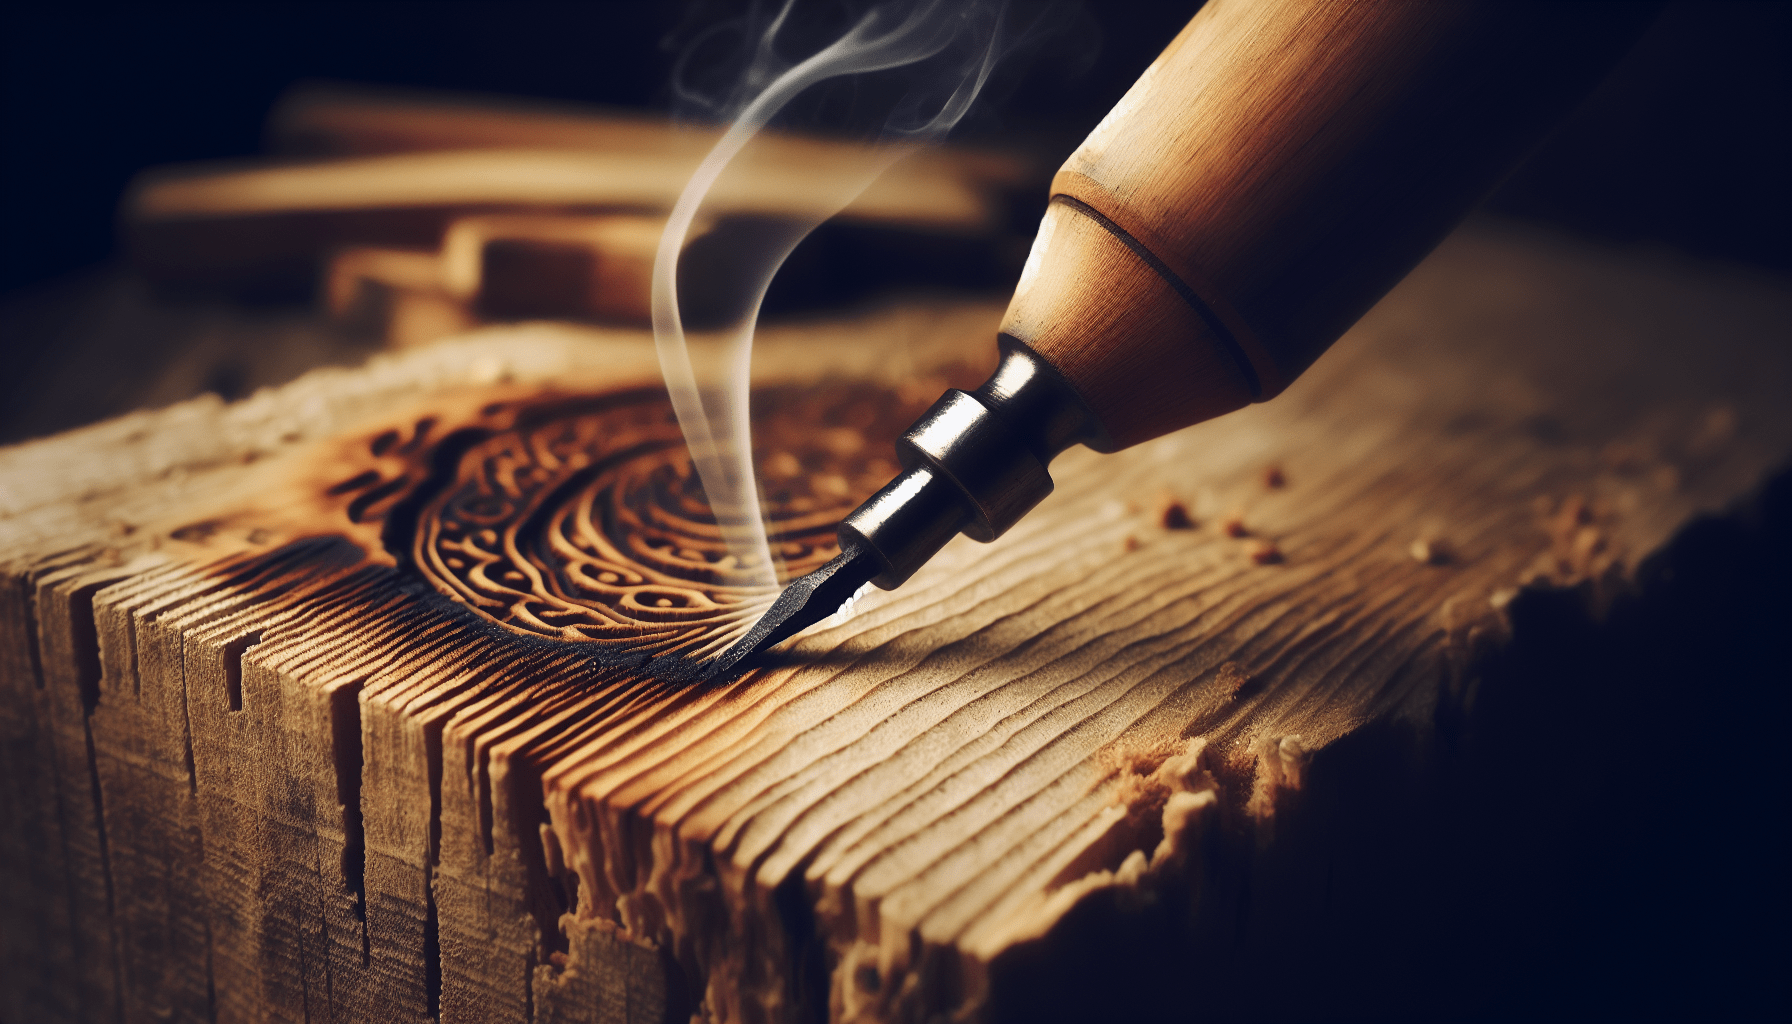
Before we get ahead of ourselves, let’s start with the basics. What exactly is wood burning? It’s the art of decorating wood by burning a design onto the surface with a heated tool. Think of it as drawing, but instead of ink, you use fire. Sounds exciting, right? Imagine having a lazy day turned into a productive one by creating something beautiful with scorched wood.
Essential Tools and Supplies
Now, let’s talk tools. Because without the proper tools, I might as well be trying to paint the Mona Lisa with a toothbrush. Here’s what you’ll need to get started.
1. Wood Burning Tool
The centerpiece of your wood-burning adventure is the tool itself. This is not your grandpa’s soldering iron. Oh no, this baby’s designed for precision, coming in either a basic craft style with a fixed temperature or a more advanced model with adjustable temperatures and interchangeable tips.
Types of Wood Burning Tools:
| Type | Description | Pros | Cons |
|---|---|---|---|
| Basic Craft Tool | Fixed temperature tool | Affordable, easy to use | Limited in functionality |
| Advanced Tool | Adjustable temperature with interchangeable tips | Versatile, suitable for various projects | More expensive, steeper learning curve |
I started with a basic craft tool, but eventually, my ambitions—and my wallet—led me to an adjustable model. Trust me, the upgrade can be worth it as you dive deeper into pyrography.
2. Pen Tips
Your pen tip is your trusted sidekick. They come in various shapes and sizes, each suited for different tasks, whether that’s shading, detailing, or creating broad strokes.
Common Pen Tips:
| Tip Type | Use |
|---|---|
| Universal | General wood burning, best for beginners |
| Flow Point | Smooth shading and filling larger areas |
| Calligraphy | Elegant, cursive designs |
| Fine Tip | Detailed work with thin, precise lines |
As a beginner, you’ll probably find yourself sticking to the universal tip, and that’s perfectly fine. Mastering one tip before switching up is a smart move.
3. Wood
Selecting the right wood is crucial. Not all wood is created equal—some burn better than others. Softwoods like pine are a beginner’s best bet because they scorch easily, making your job easier.
Best Woods for Burning:
| Type | Description |
|---|---|
| Basswood | Soft, even texture, easy to burn |
| Birch | Light color, smooth grain |
| Poplar | Soft, affordable, works well for beginners |
| Maple | Harder, provides more detailed work |
Stay away from oak or walnut when starting out. They’re tougher and can make your learning curve unnecessarily steep.
Safety First
Let’s not forget about safety because burning yourself is only fun the first zero times. Use a heat-resistant mat under your work area, and always take precautions to avoid burns.
Ventilation
Pyrography can create fumes, particularly when burning certain woods. Ensure you’re working in a well-ventilated area to prevent inhaling these fumes. An open window or a small fan can work wonders.
Protective Gear
Rubber gloves and safety goggles might seem a bit much, but trust me, they’re essential. My overly enthusiastic self learned the hard way when I burned my finger. Better safe than sorry!
Mastering Basic Techniques
Alright, you’ve got your tools, wood, and safety gear. Now let’s get into the techniques that’ll transform you from a newbie into a pyrography prodigy.
Practice Lines
Start simple. You know how you practiced cursive writing back in elementary school? Same idea. Draw lines, spirals, and basic shapes on a scrap piece of wood. This helps you get a feel for the tool and how much pressure to apply.
Shading
Shading adds depth to your work. Instead of burning one solid area, try moving your tool back and forth lightly. It’s like coloring but with fire, requiring a consistent hand. You can practice by shading circles or squares first before moving to more complex shapes.
Gradients
Creating gradients is a sexy skill in wood burning. Slow down to darken wood and speed up to lighten it. It’s like a dance, but with fire and wood, and significantly less romantic lighting.

Advanced Techniques
Once you’ve got the basics down, it’s time to level up. This is where the magic happens, where you go from making smudges on wood to creating burnt masterpieces.
Using Stencils
Stencils can make your job easier and your art more precise. They’re great for duplicating patterns or making symmetrical designs without pulling your hair out.
Detailed Work
Detailed work requires finer pen tips and steady hands. Work slow and take breaks if your hand starts to cramp. Consistency is key here.
Adding Color
Adding color to your designs can make them pop. You can use special wood-burning pigments or colored pencils. Remember to burn the design first and then add color once the wood has cooled down. It might seem odd, but I found myself enjoying this combination of burning and coloring immensely.
Tips for Successful Wood Burning
Here are a few nuggets of wisdom from my own trial and error phases:
Prepping the Wood
Sanding your wood before you start burning is essential. A smooth surface ensures that your tool glides effortlessly.
Trace Your Design
Using transfer paper to trace your design onto the wood can save you loads of time and frustration. It’s like having training wheels for your art—there’s no shame in it.
Monitor Your Heat
Your tool’s temperature should be just right. Too hot, and you’ll burn more than you intended; too cold, and you’ll spend ages making a mark. A little bit of trial and error will help you find the sweet spot.
Keep Your Tip Clean
Carbon can build up on your pen tip, reducing its efficiency. A quick swipe with a damp cloth now and then keeps it clean and effective.
Choosing Your First Project
When you’re starting, choosing the right project is half the battle. Don’t be too ambitious with your first piece—something that won’t make you cry halfway through. Coasters, small plaques, or simple ornaments are great starter projects. They’re manageable and still offer a sense of accomplishment when completed.
Inspirations and Ideas
Nature and Animals
Floral designs, animals, or even simple tree outlines are great for beginners. Nature offers endless inspiration, and the organic lines are forgiving if you make a mistake.
Quotes and Calligraphy
Words can be powerful, literally and artistically. Burn your favorite quote into a piece of wood. Start with simple fonts before trying anything too fancy.
Patterns and Mandalas
Geometric patterns or mandalas can be both challenging and relaxing to burn. They require precision, but the final product is often hypnotically beautiful.
Honing Your Skills
Like any other art form, wood burning requires practice. There will be times when you look at your work and think, “Is this supposed to be a tree or a sad, lonely pencil?” But stick with it.
Join a Community
Joining a community can be immensely beneficial. Look for local classes or online forums where people share their work and give tips. They’re great for motivation and learning new techniques.
Keep a Portfolio
Document your progress. Take photos of your early work and compare it to your more recent pieces. This not only motivates you but also helps pinpoint what’s improved and what still needs work.
Experiment
Don’t be afraid to mess up. Experimenting is how I learned most of the finer techniques. Try different woods, pen tips, and even burning styles. Each experiment, even if it ends up as kindling, teaches you something valuable.
Final Thought
Wood burning is one of those crafts that blends simplicity with depth. With just a burning tool, some wood, and a bit of imagination, you can create pieces that carry the warmth and rustic charm of something truly handmade. Whether you’re looking for a new hobby or a serious artistic pursuit, pyrography offers a rewarding way to express your creativity.
In the end, what I need to begin wood burning isn’t a long list of expensive tools or rare materials—it’s the readiness to start a journey of trial, error, and beautiful creations. And trust me, the satisfaction of seeing your burnt designs come to life is worth every moment spent figuring it out.