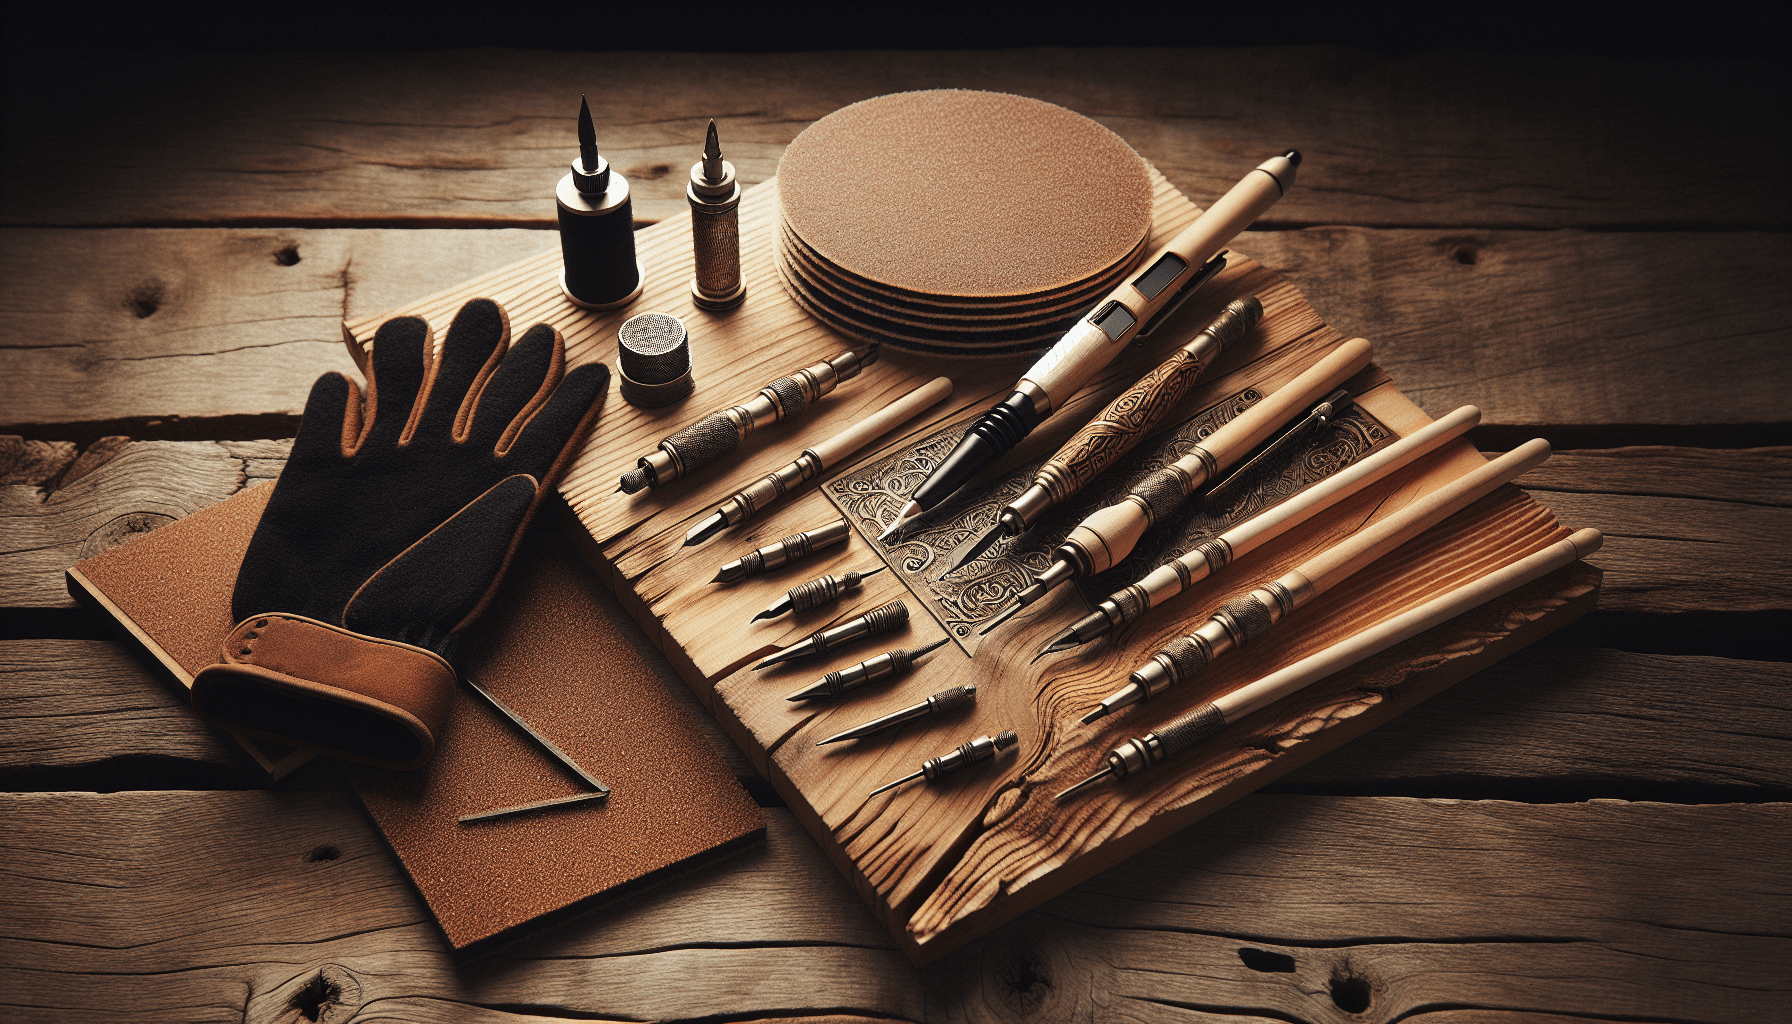
When I first got into wood burning, also known as pyrography, I quickly realized that having the right equipment makes all the difference. From basic tools like a reliable wood burning pen to essential safety gear, each piece of equipment plays a crucial role in bringing my designs to life. A decent set of tips for the pen, suitable wood pieces, some sandpaper, and a good work surface are just the beginning. As I honed my skills, I discovered that investing in quality gear not only made the process smoother but also significantly improved the final outcome of my projects. In this article, I’ll walk you through the essential equipment you need to get started and take your wood burning craft to the next level. Have you ever wondered, “What equipment do you need for wood burning?” You’ve probably seen those intricate designs on wooden plaques or kitchen utensils and thought, “Wow, I’d love to try that!” Well, you’re in luck! Wood burning, also known as pyrography, involves using heated tools to create artistic designs on wood. And no, you won’t need to channel a medieval blacksmith to get started. Trust me, the basics are more user-friendly than you’d imagine.
The All-Important Wood Burning Tool
Let’s start with the heart and soul of wood burning— the wood burning tool. This little device is your magic wand, your Excalibur, your…well, you get the picture. It comes in various shapes, sizes, and levels of fanciness. You’ve got options ranging from the budget-friendly basic model to the high-end, “I’m-pretending-I’m-Bob-Ross” deluxe version.
Types of Wood Burning Tools
| Tool Type | Description | Pros | Cons |
|---|---|---|---|
| Basic Solid Tip | Entry-level, fixed temperature | Budget-friendly, simple | Limitations in temperature control |
| Variable Temperature | Allows you to adjust the heat | Greater control, versatile | Slightly more expensive |
| Wire-Nib | Professional-grade, thin wire tips | Precision, interchangeable tips | Higher cost, steep learning curve |
Ah, the joy of choices. For beginners, a basic solid tip model is a good start. As you grow comfortable, you can upgrade to the variable temperature or wire-nib models.
Essential Tips and Nibs
The business end of your wood burning tool is the tip or nib. Tips come in a variety of shapes, each designed for specific tasks. Think of them as the different brushes in an artist’s kit.
Common Types of Tips
| Tip Type | Use |
|---|---|
| Universal Tip | A jack-of-all-trades, great for basic lines and shapes |
| Flow Tip | Ideal for smooth curves and flowing lines |
| Calligraphy Tip | Perfect for lettering and detailed script |
| Shading Tip | Best for creating gradients and shading effects |
| Stamping Tip | Used for creating repeatable patterns or textures |
Knowing which tip to use when is a bit like learning which fork to use at a fancy dinner—confusing at first, but you’ll get the hang of it.

Safety First!
Alright, time for a brief detour into the realm of safety. Wood burning is fun, but it’s not without its hazards. Imagine setting your hair on fire because you were too engrossed in shading that perfect leaf (yikes!).
Basic Safety Gear
| Item | Purpose |
|---|---|
| Heat-resistant Gloves | Protect your hands from burns |
| Safety Glasses | Shield your eyes from sparks and splinters |
| Respirator Mask | Protects your lungs from smoke and fumes |
| Fire Extinguisher | Just in case things go awry |
If you invest in nothing else, please get a fire extinguisher. You’ll thank me when you don’t burn down your house.
Wood Choices
Now let’s talk about your canvas—the wood. Not all wood is created equal. Different woods give different results and have varying levels of difficulty.
Types of Wood for Burning
| Wood Type | Characteristics | Difficulty Level |
|---|---|---|
| Basswood | Soft, smooth, easy to burn | Beginner-friendly |
| Birch | Harder, fine grain, good for detail | Moderate |
| Pine | Soft, but can get resinous | Beginner to Intermediate |
| Oak | Hard, coarse grain, requires more heat | Advanced |
| Maple | Hard, fine grain, great for detailed work | Advanced |
When starting out, basswood is your best friend. It’s soft and smooth, making it easy to work with. Save the oak and maple for when you’ve got a few more burns under your belt.

Your Design Blueprint
Before you start burning away on that lovely piece of wood, you’ll need a plan. Freehanding is an option, but unless you’re a pyrography prodigy, I’d recommend using a stencil or pre-drawn design.
Tools for Transferring Designs
| Tool | Use |
|---|---|
| Graphite Paper | Place between design and wood, trace over the lines |
| Stencils | Pre-made designs you can trace directly onto wood |
| Ruler and Pencils | For drawing straight lines and initial sketches |
Trust me, there’s no shame in using a stencil. Even the great artists had their tricks.
Essential Accessories
While the wood burning tool is the star of the show, don’t forget the supporting cast. Accessories make the process smoother and the results prettier.
Useful Accessories
| Item | Purpose |
|---|---|
| Sandpaper | Smooths out the wood surface before burning |
| Bench Vice | Holds your wood steady |
| Cleaning Sponge | Keeps your tips clean and efficient |
| Wood Finishes | Protects and enhances the final product |
You won’t need all of these right away, but it’s good to know what’s out there in case you get the urge to splurge.
Practice Makes Perfect
Like anything else, wood burning takes practice. Your first piece might look like a kindergartener’s art project, but don’t get discouraged.
Tips for Practice
- Start Small: Begin with simple designs and work your way up.
- Consistent Heat: Make sure your tool maintains even heat for consistent burns.
- Slow and Steady: Take your time, rushing leads to mistakes and uneven burns.
- Experiment: Try different woods and tips to see what you like best.
Make it a point to burn a little something every day, even if it’s just doodles and squiggles.
Join a Community
Believe it or not, there are communities of wood burning enthusiasts just waiting to welcome you. Online forums, social media groups, and even local crafting clubs can provide tips, feedback, and camaraderie.
Benefits of Community
| Benefit | Description |
|---|---|
| Feedback | Get advice and constructive criticism on your work |
| Inspiration | See different styles and techniques from other artists |
| Camaraderie | Meet like-minded individuals who share your passion |
| Resources | Find out about new tools, wood types, and accessories |
Connecting with others is a great way to keep your motivation high and your skills improving.
Final Thoughts
So, what equipment do you need for wood burning? It’s a mix of essential tools, safety gear, and a range of accessories. Start simple and upgrade as you grow more confident and skilled. Remember, the goal is to enjoy the process and express your creativity.
Trust me, with the right equipment and a bit of practice, you’ll be creating beautiful wood-burned art in no time. Who knows, you might even become the next wood-burning Picasso. Happy burning!