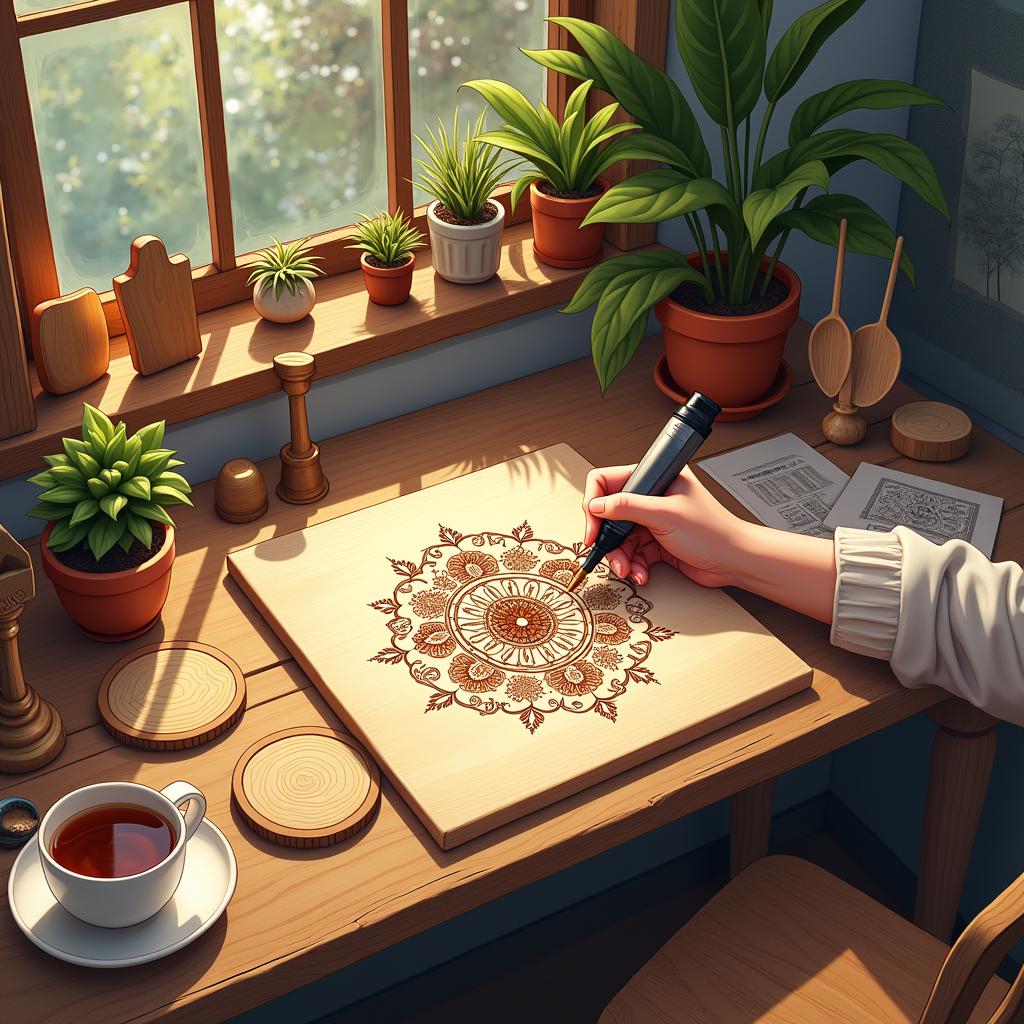
I create unique wood-burned art pieces that transform simple wooden surfaces into personalized masterpieces. This traditional craft blends classic techniques with contemporary design elements to produce stunning home décor.
Key Takeaways
- Different woods serve specific purposes – Birch for detailed work, oak for strong grain patterns, and cedar/redwood for outdoor projects.
- Proper wood preparation, including 3-6 months of drying time and appropriate sealing, is crucial for lasting results.
- Designs can vary widely – Mountain silhouettes, abstract patterns, personalized family signs, and seasonal decorations.
- Protection techniques differ by intended use, with UV-resistant sealants for outdoor pieces and food-safe finishes for kitchen items.
- Project costs remain reasonable, with most pieces ranging from $15-100 depending on size and complexity.
TL;DR – Choosing the Right Wood
I select specific woods based on each project’s needs. Birch provides an ideal surface for intricate details, while oak showcases bold grain patterns. Cedar and redwood excel in outdoor applications due to their natural weather resistance.
Wood Preparation for Lasting Results
Wood preparation plays a vital role in achieving professional results. Each piece demands proper drying time, typically 3-6 months, followed by precise sealing methods. This attention to detail ensures the artwork maintains its beauty over time.
Design Possibilities and Protection
My design options span from striking mountain scenes and geometric patterns to custom family signs and holiday-themed pieces. Every project receives specialized protection – UV-resistant coatings shield outdoor artwork, while food-safe finishes make kitchen items practical and beautiful.
Affordable Art with High Value
The affordability of wood-burning art adds to its appeal. Most projects cost between $15-100, based on their size and intricacy. This price point makes custom wood art accessible while maintaining high artistic value.
Transforming Plain Wood into Stunning Wall Art: A Guide to Wood Slice Design
I’ve discovered that wood slice art creates a striking focal point in any room, blending natural elements with personalized design. Natural wood slices serve as perfect canvases for creating beautiful pyrography designs that transform ordinary spaces into eye-catching displays.
Essential Wood Selection and Preparation
The choice of wood directly impacts the final look of your piece. Birch offers a light, smooth surface that’s perfect for detailed work, while oak showcases strong grain patterns that add character to simpler designs. Pine brings its own charm with natural knots that can be incorporated into your artwork.
Working with wood slices demands proper preparation. Raw slices need 3-6 months of air-drying or can be kiln-dried faster. Once dried, I’ve found that sealing the wood with polyurethane creates a durable finish, though epoxy resin delivers a glossier look that really makes the burned designs pop.
Key Tips for Selecting and Mounting Wood Slices
- Choose slices between 3-12 inches in diameter and 1-2 inches thick for balanced wall displays
- Space pieces 1-2 inches apart when creating multi-slice installations
- Start with pre-cut packs ($15-30) if you’re new to wood burning home decor
- Consider DIY slicing for custom sizes and to save money long-term
Choosing the Right Designs for Your Space
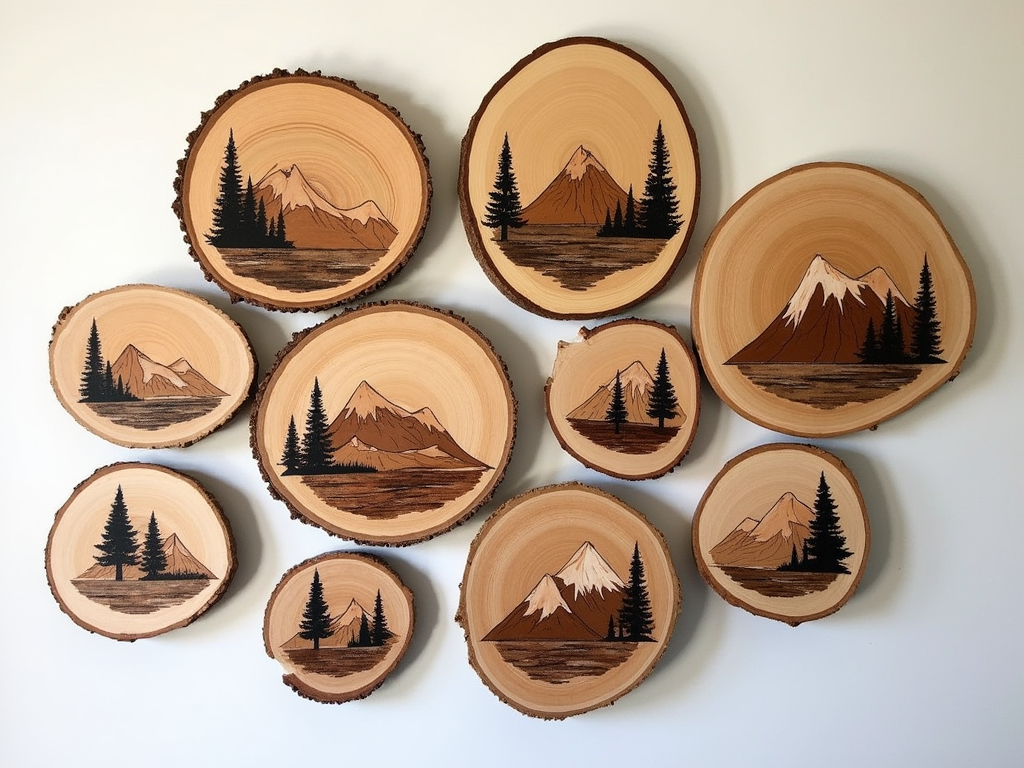
Mountain silhouettes make stunning focal pieces, while abstract patterns can create modern, artistic displays. Tree motifs connect naturally with the wood medium, creating a harmonious look. I’ve found that mixing these design styles across different sized slices adds visual interest to trending wood-burned wall art.
The raw beauty of wood grain combined with decorative burning techniques creates unique pieces that tell stories through their patterns and textures. Each slice becomes a canvas for expressing creativity, whether you’re crafting unique pyrography gifts or enhancing your living space with modern wood burning art.
Create Your Family’s Legacy: Personalized Wood Burned Signs
Custom wood burned family signs add a personal touch that transforms any living space into a true reflection of your heritage. I’ve found that creating personalized wood burning projects lets me tell unique family stories through craftsmanship.
Design Elements and Material Selection
The foundation of a striking family sign starts with choosing the right wood. Pine offers an excellent starting point for those watching their budget, while cherry wood delivers a premium appearance with its rich, warm tones. I recommend selecting sizes that match your space – 12×18 inches works perfectly above entryways, while statement pieces of 24×36 inches command attention in living rooms.
Font selection plays a crucial role in capturing your family’s character. Here are my tested combinations for maximum visual impact:
- Serif fonts for surnames – They convey tradition and timeless elegance
- Sans-serif fonts for dates and additional text – These provide clean readability
- Mixed font styles – Creating hierarchy and visual interest without looking cluttered
Your family sign can incorporate distinctive decorative elements that make it uniquely yours:
- Delicate floral borders that frame your family name
- Custom family crests that showcase your heritage
- Geometric patterns that complement your home’s style
I’ve mastered both stencil and freehand techniques for these signs. Using pyrography tools creatively with stencils provides consistent results perfect for text, while freehand burning allows artistic freedom for decorative elements. The investment ranges from $40 for simple pine designs to $100 for larger, intricate pieces on premium woods.
The beauty of these signs lies in their ability to grow with your family. Adding birth dates, special occasions, or meaningful quotes turns them into living documents of your family’s journey. By incorporating beautiful wood burning designs, each piece becomes both an heirloom and a stunning focal point in your home.
From Kitchen to Table: Functional Wood Burned Decor
I’ve discovered that kitchen and dining items are perfect candidates for decorative wood burning, adding character while maintaining their practical use. Creating functional wood-burned pieces lets me blend artistry with everyday utility.
Essential Specifications for Kitchen and Dining Items
Coasters are an excellent starting point for decorative wood burning. I recommend using 4×4 inch squares or 4-inch diameter rounds – these dimensions provide ample space for intricate designs while fitting standard drink sizes. Maple and walnut are my go-to woods for coasters since they resist heat better than pine and won’t warp from hot beverages.
Food-safe sealant is crucial for protecting burned designs. I apply 3-4 thin coats, allowing 24 hours of drying time between each layer. This careful process ensures beautiful wood-burned pieces that last for years.
Serving trays offer larger canvases for creative expression. Here are some popular design elements I’ve found success with:
- Leaf patterns that extend from corner to corner
- Wildlife motifs centered in the tray
- Geometric borders with personalized text
- Custom monograms surrounded by decorative frames
- Seasonal designs that can be displayed year-round
For kitchen utensils, I select specific woods known for their durability and food safety. Beech, maple, and olive wood make excellent choices for crafting unique wood-burned utensils. With proper care and maintenance, these pieces can last 5-7 years while keeping their burned designs clear and visible.
I’ve noticed geometric patterns are gaining popularity in kitchen decor. Simple repeating shapes create striking visual impact while being straightforward to burn. Nature scenes add organic charm to serving pieces, while custom monograms give a personal touch that makes these items special.
Each piece should balance form and function. Decorative wood burning transforms ordinary items into conversation starters without compromising their usefulness. The key is selecting appropriate woods and applying proper finishing techniques to ensure these beautiful pieces stand up to daily use.
Outdoor Wood Burning Projects That Last
Essential Materials and Specifications
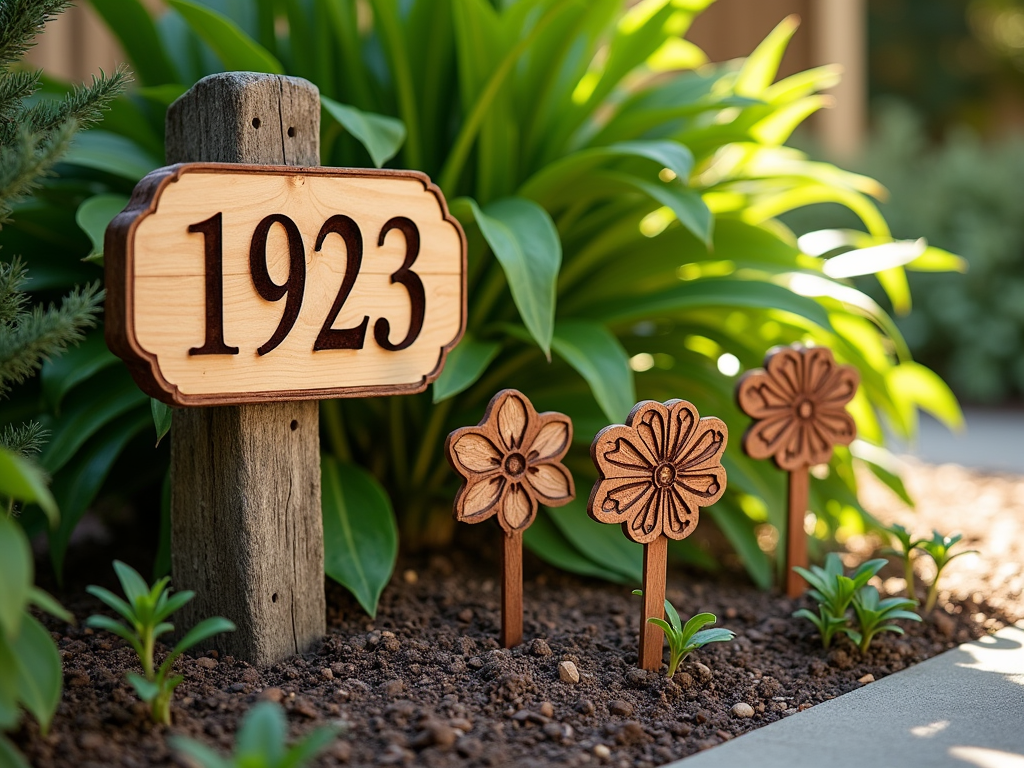
Creating stunning outdoor pyrography pieces starts with picking the right materials. I’ve found that cedar and redwood stand up exceptionally well to outdoor conditions, making them perfect choices for exterior projects. These woods naturally resist decay and insect damage while maintaining their beautiful appearance over time. When creating outdoor pyrography decorations, selecting the right dimensions is crucial for both functionality and visual impact.
For address plaques, I always ensure the numbers are at least 4 inches tall – this isn’t just for aesthetics, it’s essential for emergency services to easily spot your house number from the street. Installing these plaques at 5-6 feet from ground level offers optimal visibility while protecting them from ground-level moisture and debris.
Plant markers need careful consideration too. I recommend making them 6-8 inches long and 1-inch wide to ensure they’re visible but don’t overwhelm your garden space. These dimensions allow enough room for both the plant name and any additional details you might want to include, while still being practical enough to stick firmly in the soil.
Protection and Maintenance
The secret to long-lasting outdoor pyrography lies in proper sealing and maintenance. UV-resistant polyurethane is my go-to sealant for outdoor pieces – it creates a protective barrier against sun damage, rain, and temperature fluctuations. Outdoor wood-burned decorations need special attention to stay beautiful.
Here’s what I do to keep outdoor pyrography looking fresh:
- Apply three coats of UV-resistant polyurethane, letting each layer dry completely
- Clean surfaces gently with a soft brush and mild soap solution quarterly
- Check for any signs of wear or water damage monthly
- Reseal annually, or more frequently in harsh weather conditions
- Keep pieces out of direct water exposure when possible
- Remove any accumulated dirt or debris promptly
These maintenance steps might seem like extra work, but they’re worth it to preserve your personalized wood burning designs. I’ve seen outdoor pieces last for many years when properly maintained, becoming cherished features of outdoor spaces.
The key is being proactive with maintenance rather than reactive to damage. By following these guidelines and using appropriate materials, your outdoor pyrography projects can become lasting additions to your home’s exterior décor while maintaining their beauty through changing seasons.
Decorative Storage Solutions: Custom Wood Burned Boxes
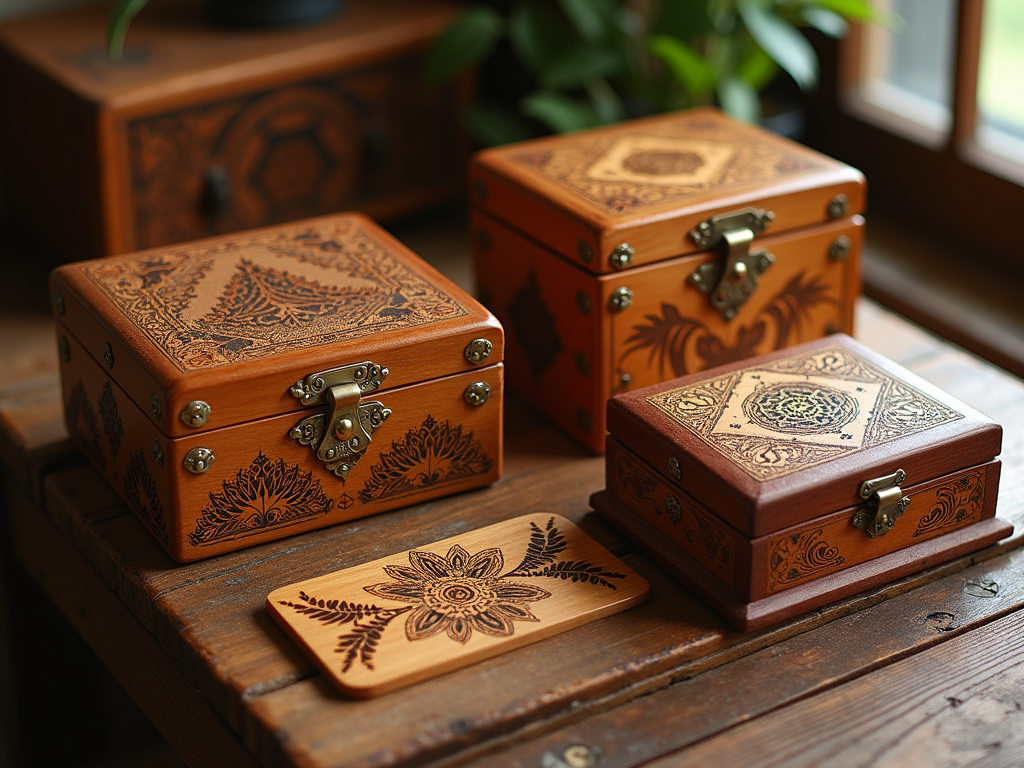
Custom wood burned boxes add both beauty and function to any space. I’ve found that creating personalized storage boxes with pyrography transforms simple wooden containers into cherished decorative pieces.
Box Styles and Design Elements
Hinged boxes, typically priced between $15-25, offer classic appeal and reliable storage. These boxes work perfectly for jewelry and treasured items, while sliding lid boxes ($10-20) provide a sleek modern option for everyday use. Brass hinges pair beautifully with burned designs, and magnetic closures ensure contents stay secure without detracting from the artistic elements.
I’ve discovered several effective ways to apply pyrography techniques to wooden boxes. Here are the key burning tips and their best applications:
- Shader tip – Creates smooth gradients perfect for nature scenes and abstract patterns
- Writing tip – Ideal for adding names, quotes, or delicate line work
- Detail point – Excellent for intricate designs and fine texture work
The placement of designs can dramatically change a box’s appearance. Full coverage patterns make bold statements, while focused designs draw attention to specific areas. I recommend considering these storage suggestions when planning your design:
- Jewelry boxes – Intricate floral or geometric patterns
- Keepsake containers – Personalized messages or meaningful symbols
- Collectible storage – Theme-related motifs that reflect the contents
Interior finishing deserves special attention too. A smooth, sealed interior protects contents while complementing the exterior wood burning artwork. I prefer using food-safe sealants for boxes that might store small items or precious objects.
Matching the design to the box’s purpose creates meaningful connections between form and function. For example, a box meant for storing garden seeds might feature burned images of plants and flowers, while a memory box could display significant dates and personal symbols.
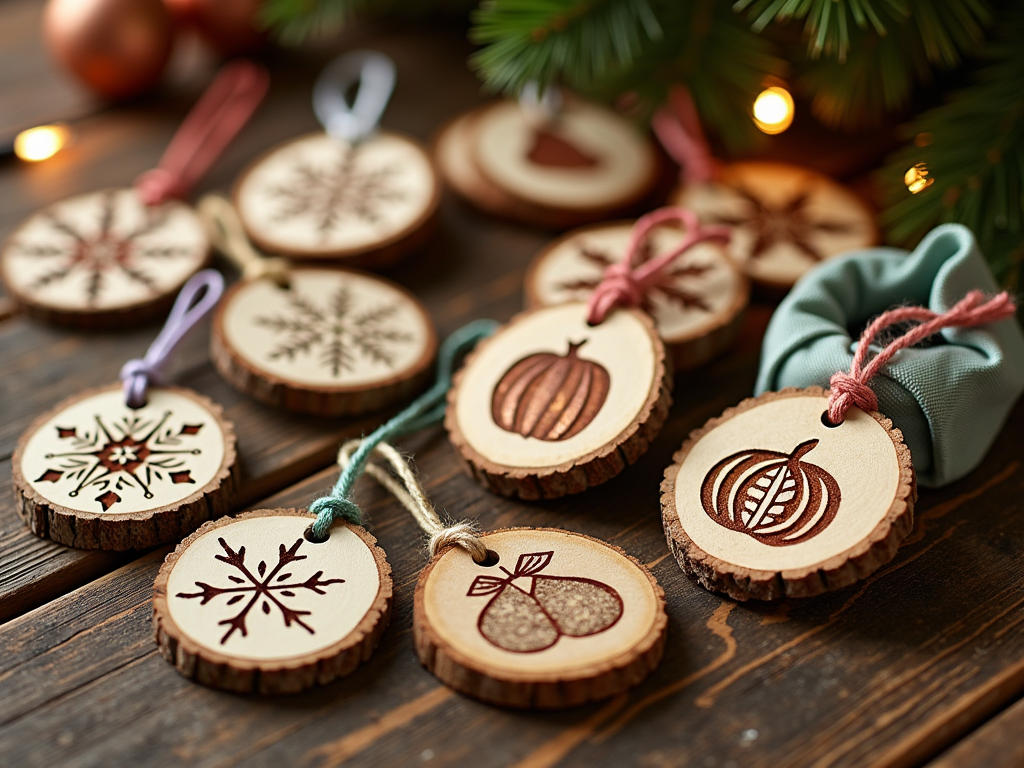
Holiday Magic: Wood Burned Seasonal Decorations
Creating seasonal decorations through wood burning adds a personal, handcrafted touch to holiday celebrations. I’ve found that selecting the right wood and size makes all the difference in crafting stunning seasonal pyrography decorations.
Wood Selection and Sizing
The perfect ornament starts with choosing the right wood. Birch stands out as my go-to choice for Christmas decorations, thanks to its light color that makes burned designs pop. For year-round decorations, maple proves reliable with its consistent grain pattern, while cherry wood’s rich tones make it perfect for creating special occasion pieces.
Each ornament typically measures between 2-4 inches in diameter with a thickness of 1/8-1/4 inch – an ideal size for both detailed work and visibility on display. These dimensions also keep the pieces lightweight enough to hang safely on trees or walls.
Seasonal Themes and Embellishments
Different seasons call for unique designs that capture their spirit. Here are my favorite seasonal patterns and enhancement techniques:
- Winter: Intricate snowflakes and pine motifs enhanced with silver metallic paint
- Spring: Delicate egg designs adorned with pastel ribbon accents
- Summer: Nature-inspired patterns finished with natural twine hangers
- Fall: Bold pumpkin silhouettes complemented with copper paint details
The materials for each ornament cost between $3-5, making this an affordable way to build a collection of unique home decorations. To protect these pieces, I store them wrapped individually in soft cloth, keeping them in climate-controlled spaces to prevent warping or damage during off-seasons.
My favorite part of creating seasonal decorations is mixing traditional pyrography with modern embellishments. Adding touches of metallic paint creates stunning light-catching effects, while natural twine or colored ribbons bring texture and personality to each piece.
Sources:
The Complete Pyrography by Stephen Poole
Pyrography Basics: Techniques and Exercises for Beginners by Lora S. Irish
Great Book of Woodburning by Lora S. Irish